Step 1 - Configure VCarve Pro (VCP) To Generate A Proper Laser Toolpath And G-code
JTech has a very good page, Vectric Laser Post Processor, which describes how to install a Post Processor, set up a laser tool in VCP's Tool Database, and the settings for a toolpath. I followed their steps with these following notes and differences (review their page before continuing below):


- I selected the INCH version of the GRBL - No Z Version PP.

- For the Tool Database tool definition I chose 40 inches/min for both Feed Rate and Plunge Rate.

Step 2 - Configure My X-Controller To Do Laser Stuff
At this point I created what I wanted to engrave and generated the g-code using the laser tool definition created in step 1 above. With the g-code now created, the next step was to send it to the X-Controller. But first I needed it to be configured for laser stuff. JTech has a page, Universal G-Code Sender Basics, which contains a section presenting these configuration changes. I will not go into details here as it really is a mid-step in step 3 below. I will, however point out that it consists of setting $30, $31, and $32 values in case you wanted to read ahead.Step 3 - Send That G-code To The X-Carve
As mentioned above in step 2, the JTech page Universal G-Code Sender Basics tells how to configure the X-Controller for laser stuff. It sets those values using Universal G-Code Sender (UGS). Not only is UGS used for making those setting changes it is also used to send the g-code to the X-Controller to do the laser engraving. I recommend you going over to JTech's page, Uninversal G-Code Sender Basics, and follow their instructions from there as anything I put here will simply be duplication.My First Test Image
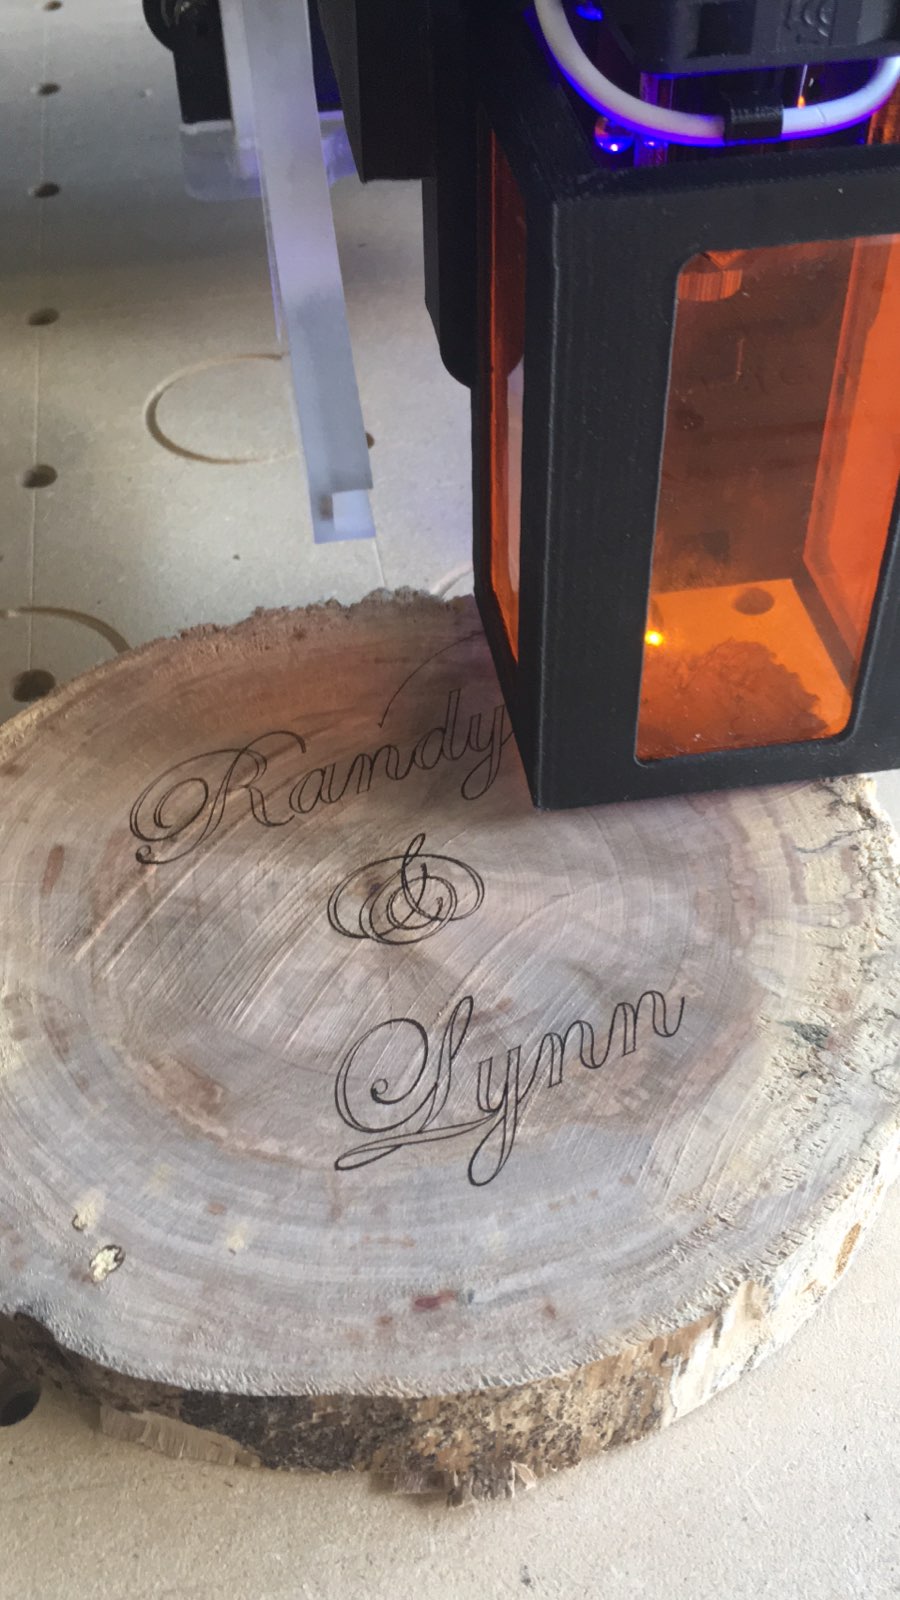
For my first test burn, I created a simple heart shape with some text in it. Following the steps on the JTech page mentioned in step 1 above, I created a Quick Engrave toolpath. It took a little over 2 minutes to run and I am very happy with the outcome especially with how thin the lines are. Here are the results: